How To Create An Impactful Artist Bio
A bio is an artist’s first impression. Don’t you want yours to be impactful and resonate with the reader? Well, you’ve come to the right place! The importance of an artist's bio cannot be overstated. I’d like to think that a well-crafted one is a window into the artist's life story, and will give potential collaborators vital insight into who you are and what inspires your work. So how do you craft one? Here are some steps and tips to get you started!
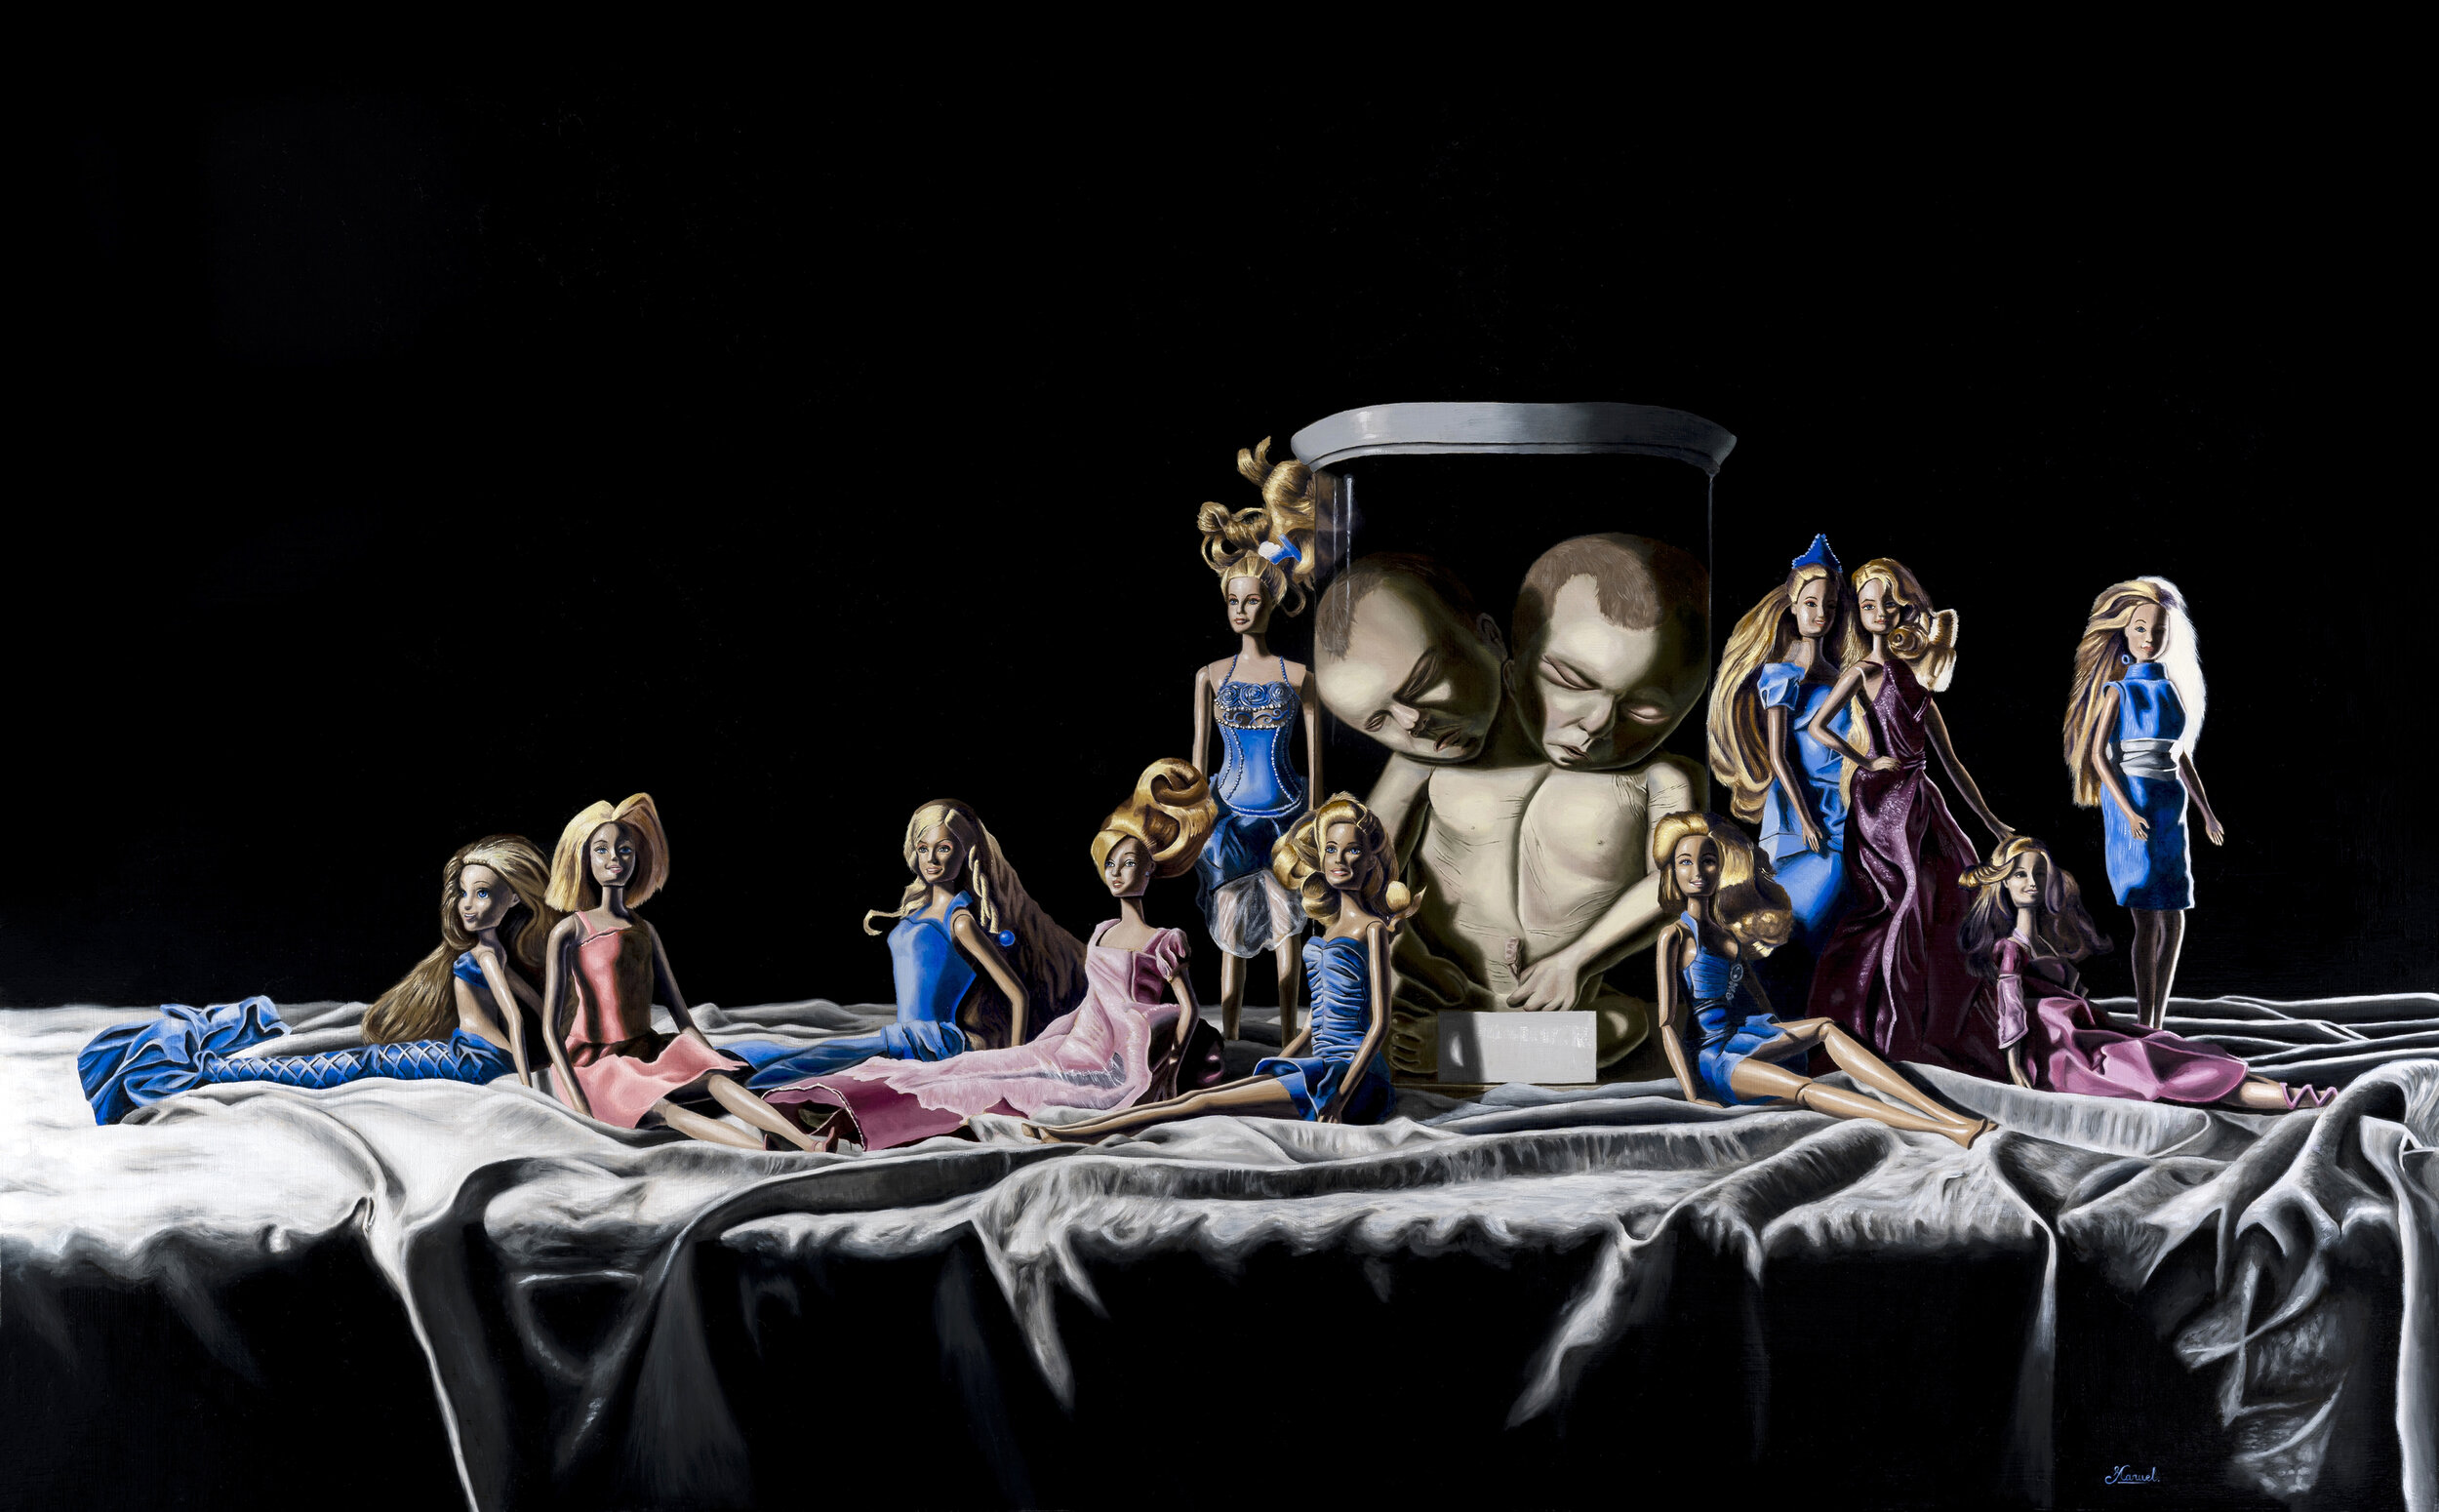
“Barbies” //Oil on Canvas// by 4th Edition Finalist, Manuel Dampeyroux
What is an artist’s bio?
Artpreneur coach, Renee Phillips described it best - “The Artist’s Biography serves to provide the reader with a story about you as an artist and learn about your career credentials. your Artist’s Biography provides prospective buyers, gallery owners, curators, grant givers, and writers with knowledge about you. They want to know about your career accomplishments before they decide to invest in your art and promote you.”
Step 1: Start with a hook
A hook is an element that grasps the reader or viewer’s attention. Digital music distribution service, TuneCore suggests making use of a “short story or quick line that is as unique as you are, and that flows really well.” One thing to note is that the story or quick line should transition smoothly into the next step of introducing yourself. You don’t want your bio to feel disjointed so make sure the hook is relevant and appropriate. For example, you can rephrase a simple introductory sentence such as “Avery Scott is a conceptual photographer living in Ghana” into a captivating and direct such as “Ghanaian-based conceptual photographer Avery Scott…”. Heading your sentence with a prepositional phrase such as “with a passion for…” or a noun phrase like the aforementioned example “Ghanaian-based conceptual photographer…” can establish an assertive and direct tone.
Continually, opt for powerful adjectives such as fervent as opposed to its overused synonym passionate because it will make your bio more captivating and interesting.
Step 2: Introduce yourself
Your introduction should include information such as your name, the medium you work in, where you were born, where you work, and when you first became interested in art. We’ve compiled a list of questions you can ask yourself to formulate an effective introduction.
What questions should you be answering in your artist bio?
• Who am I?
• Where am I from and where do I currently reside?
• What are some significant facts about your art career? (self-taught, Art training, achievements, noteworthy publications, exhibitions, awards, etc.)
• When, where, and why did I become interested in art?
• What are some unique qualities of my art?
“There is no Planet B” //Mixed Media// by 4th Edition Finalist, Christina Columbo
Step 3: Write in 3rd person and editorial style
Unlike artist statements (which are written in 1st person), artist bios are typically written in 3rd person. 3rd person allows for a more objective perspective that avoids sounding desperate or overly egocentric. It is also perceived as being professional and as self-taught designer and maker, Tobias van Schneider notes “the third person makes it easy for someone to copy and paste our bio for their publication, press release or event.”
You can also write your artist’s bio in the editorial style which refers to “a set of guidelines that editors use to help make your words as consistent and effective as possible”. iUniverse has created a handy and detailed guide that is easy to follow to help you better understand editorial style and all of its grammatical particularities.
Step 4: List your achievements
You’ve worked hard during your career as an artist so why not share your successes with your readers. You can include information about various awards that you have earned, high-profile clients you’ve worked for, and gallery representations, and any other noteworthy achievements.
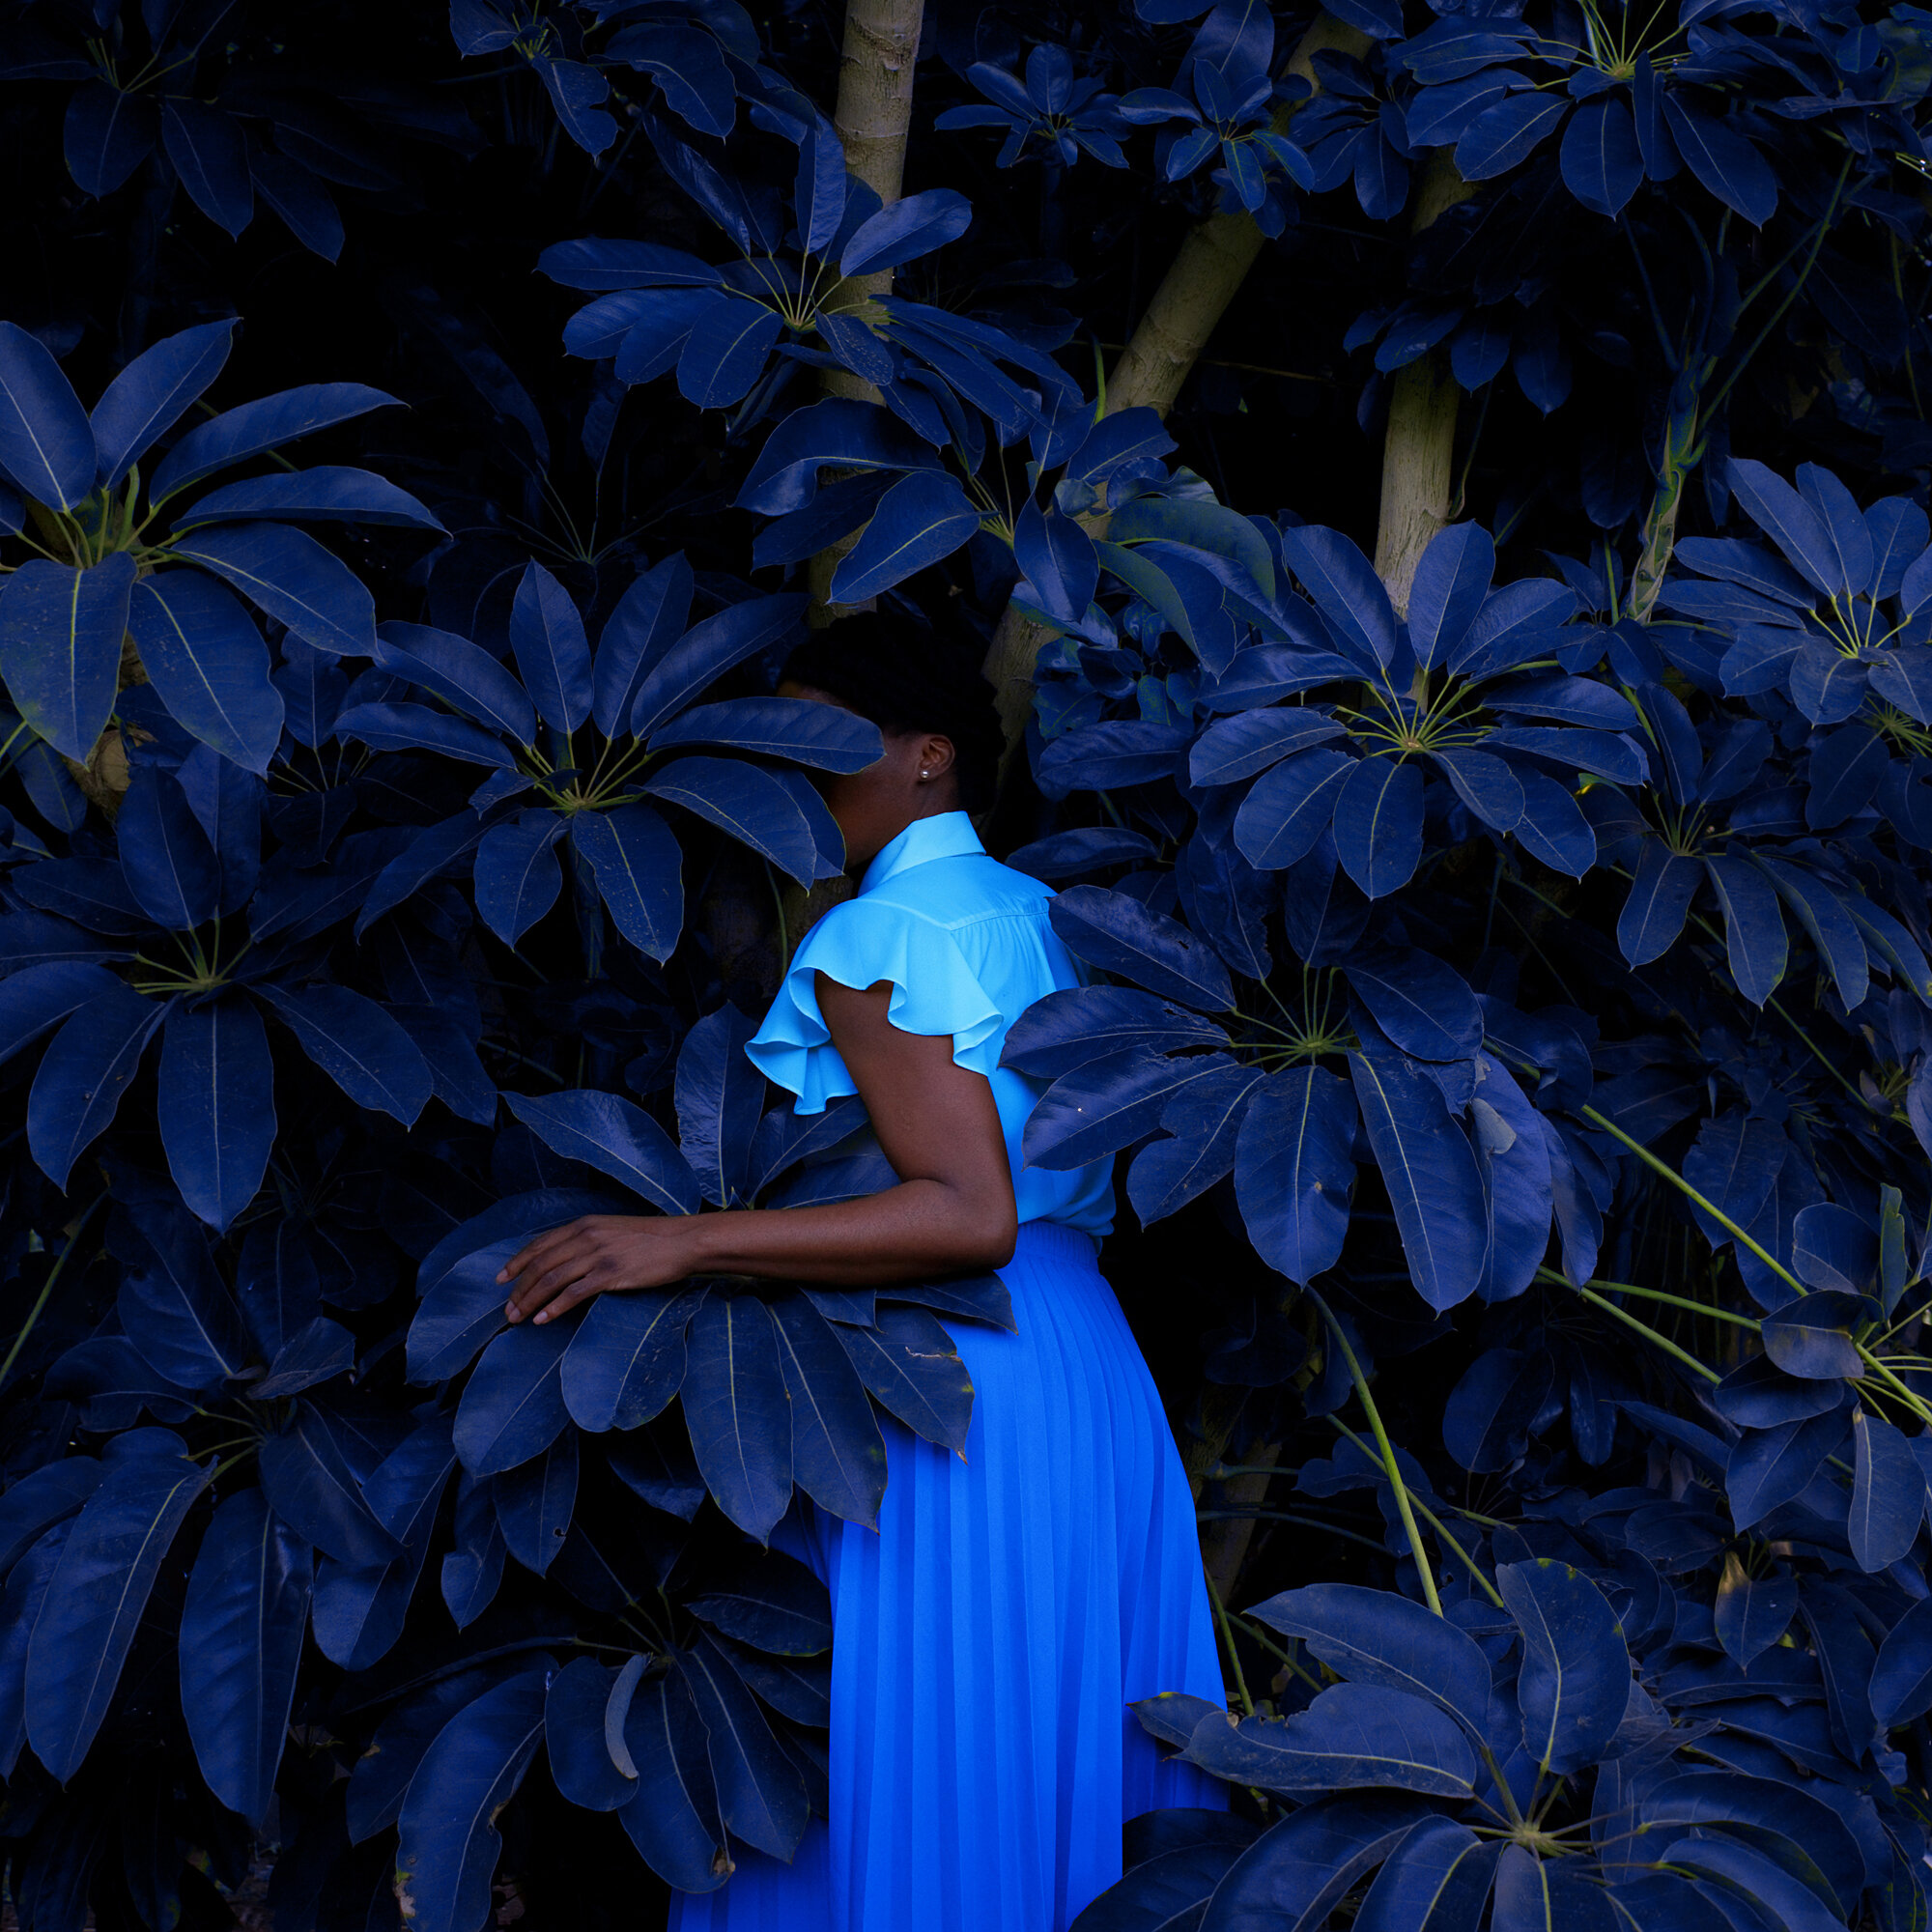
“Morning Calm” //Photography// by 5th Edition Juror, Fares Micue
Step 5: Avoid Art jargon
Similar to your artist statement, art jargon does not belong in your bio. Remember that it’s supposed to be comprehensive for all and people will simply find it more difficult to relate, understand or remain engaged if you use lots of technical terms and colloquialisms. One of the best pieces of advice that I’ve been given on my writing journey is to write as if you’re explaining the concept to a child. What this means is that you should aim for your writing to be simple, easily understandable, clear, and engaging because if it isn’t, it won’t resonate with the audience.
Step 6: Tailor it for different opportunities
This step links to the idea of understanding who your audience is. Like you would with a resume, you want to tailor your artist bio for different opportunities with different audiences. The first thing to consider when doing this is the length. According to Society6, “the length depends on your audience. It’s common to have multiple versions, in different lengths. Each version will likely emphasize various achievements relative to where your bio is being read.”
For your website, they advise keeping it between 100-150 words because this is the best range to retain your viewers’ attention in this context and environment. Focusing on your inspiration and process is also a great way to tailor your bio specifically for your website.
For gallery exhibition, residency, and competition entry submissions, 100-150 words is ideal but the focus shifts more to the themes in your work as a whole, what has influenced you as an artist, and a few notable achievements.
“The Claw” //Oil on Panel// by 4th Edition Submitter, Brooke Hunter
Step 7: Formatting and presentation
When it comes to formatting and presentation (which are just as important as the content itself), I’d suggest keeping the font simple. You can use fonts such as Times New Roman, Calibri, Arial, and Cambria best associated with 12 point font size. The font size range should be between 12 and 16. You don’t want it to be too large or too small so each font style will have its ideal font size. For example, Times New Roman is best associated with a 12 point font size.
Continually, it is always a good idea to have a friend or family member proofread your biography to make sure there are no typos or spelling mistakes or if you prefer, you can proofread it yourself but I suggest that you leave your work for a few hours or a day and then come back to it for review because you will have fresh eyes to see mistakes more easily.
Step 8: Update your bio as your career evolves
Your career will continue to evolve and your artist bio should do the same simultaneously. You can keep it up to date by ensuring your achievements and background information such as where you live are current. Having an up-to-date artist’s bio is a great idea and most beneficial for you because prospective collaborators are interested in your recent and current credentials.
Conclusion
I hope you've found this article both engaging and insightful. It's important to be able to share your story in a captivating way that will resonate with potential collaborators but it can also be challenging when you're not sure where to start or how to convey who you are as an artist. These steps and tips should help guide your journey into crafting an effective bio that will incite success!


